
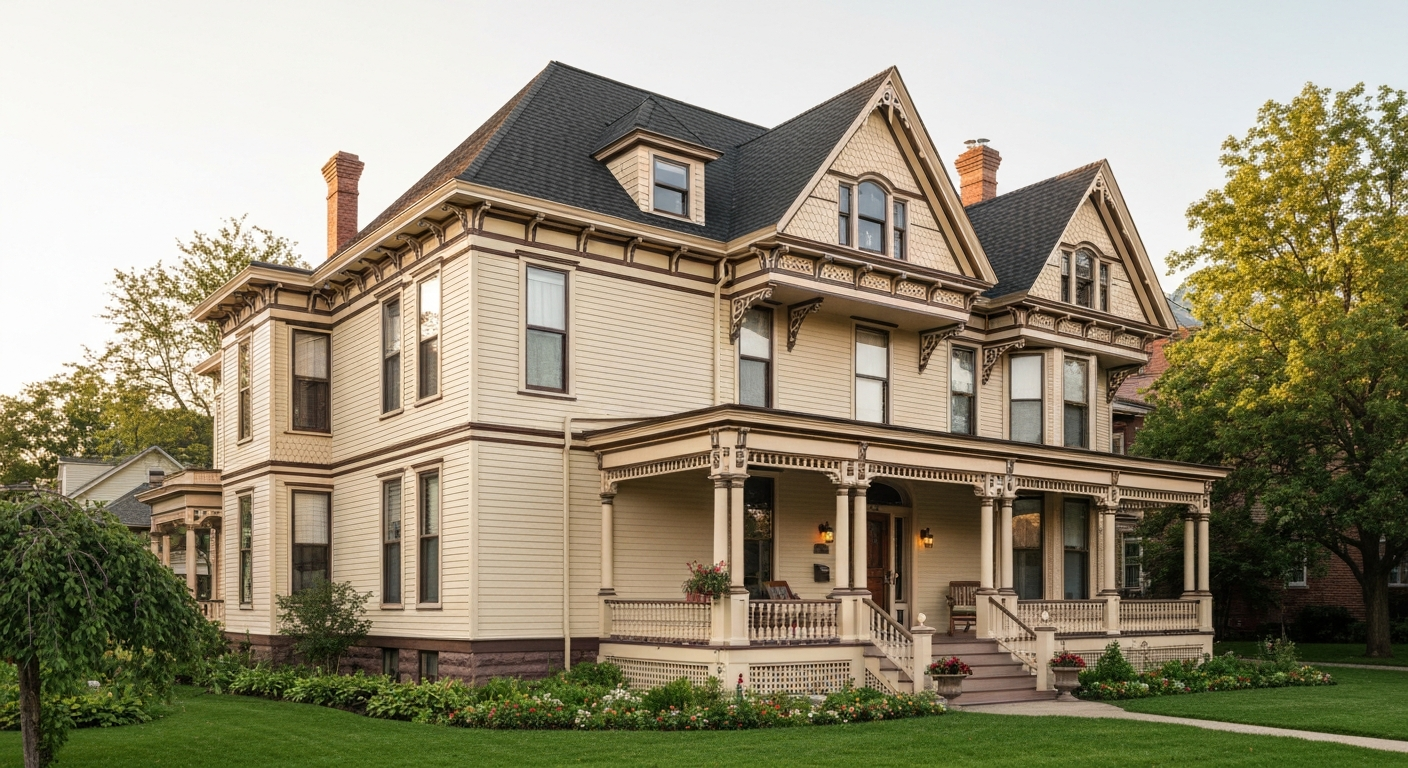
Historic Home Painters in Minneapolis
We understand old houses. Careful prep, lead-safe practices, and respect for what makes your home original.
Call (612) 688-3059Painting Historic Homes in Minneapolis and St. Paul
Older homes need more than a standard repaint. Original wood siding, plaster, layered old paint systems, and architectural details that don't exist in newer construction all call for a different approach. We work on Craftsman bungalows, foursquares, Victorians, and Tudors throughout Minneapolis and St. Paul, including neighborhoods like Uptown, Linden Hills, and the areas around the Chain of Lakes.
Why Older Homes Need a Different Approach
A lot of the older homes we see in this market need real prep work before painting even starts. Layered old paint, soft or rotted trim, exposed original wood, and failed caulking are common on homes built decades ago, and painting over these issues without addressing them first just means the new paint fails faster.
- Original wood siding needs different prep than modern siding materials
- Multiple layers of old paint require careful scraping and priming, not just a quick sand
- Architectural details like intricate trim, cornices, and multi-color schemes take more time to do right
How We Approach Different Materials
Historic homes are rarely a single material. A single exterior might combine original wood siding, brick, and stucco, and each one takes a different technique to paint correctly.
- Wood siding — needs thorough scraping of old, failing paint layers and a stain-blocking primer to prevent old tannins or stains from bleeding through the new topcoat
- Brick and masonry — typically left unpainted if original, but painted masonry needs breathable, masonry-specific coatings rather than standard exterior paint
- Stucco — needs a flexible, crack-resistant coating (see our Stucco Painting page for more detail)
We apply paint in thin, even coats rather than one heavy pass. That builds a more durable finish and helps preserve the fine detail in original trim and molding instead of filling it in with too much product.
Lead-Safe Practices for Older Homes
Many homes built before 1978 have lead-based paint somewhere in the layers underneath. Disturbing that paint without the right precautions creates a real health hazard, especially for kids and pregnant women. We follow lead-safe work practices on every older home we paint, including proper containment and cleanup.
We are an EPA Lead-Safe Certified Firm.
Our Process for Historic Exteriors
1Step 1 — Inspection
Why it matters: Every historic home has a different history of repairs, materials, and wear. We start by actually looking at what we're working with before quoting the job.
What to expect: A full walk-around of the exterior, identification of areas needing repair versus areas that just need painting, honest information about what your home actually needs.
2Step 2 — Repair and Carpentry
Why it matters: Rotted trim, soft wood, and failing caulking need to be fixed before paint goes on, not painted over.
What to expect: Wood rot and trim repair as needed, caulking of gaps and seams, repair work discussed with you before it happens.
3Step 3 — Prep and Priming
Why it matters: This is where most of the real work happens on an older home. Multiple layers of old paint and original materials both need careful handling.
What to expect: Scraping of failing paint, lead-safe containment practices where applicable, primer matched to the specific material being painted.
4Step 4 — Paint Application
Why it matters: Thin, even coats protect the fine detail in original trim and molding instead of filling it in.
What to expect: Careful masking of non-painted surfaces, layered application in thin, even coats, attention to detail work like multi-color trim schemes.
5Step 5 — Cleanup and Final Walkthrough
Why it matters: Your landscaping and property should look better at the end of the job, not worse.
What to expect: Daily site cleanup, landscaping protected throughout the project, a walkthrough with you before we call the job complete.
Example Project: Historic Exterior Repaint in Kenwood
This is an illustrative example showing how a typical project like this comes together — from estimate to finished job. Costs, timelines, and photos are representative of real Twin Cities projects, not a specific completed job.
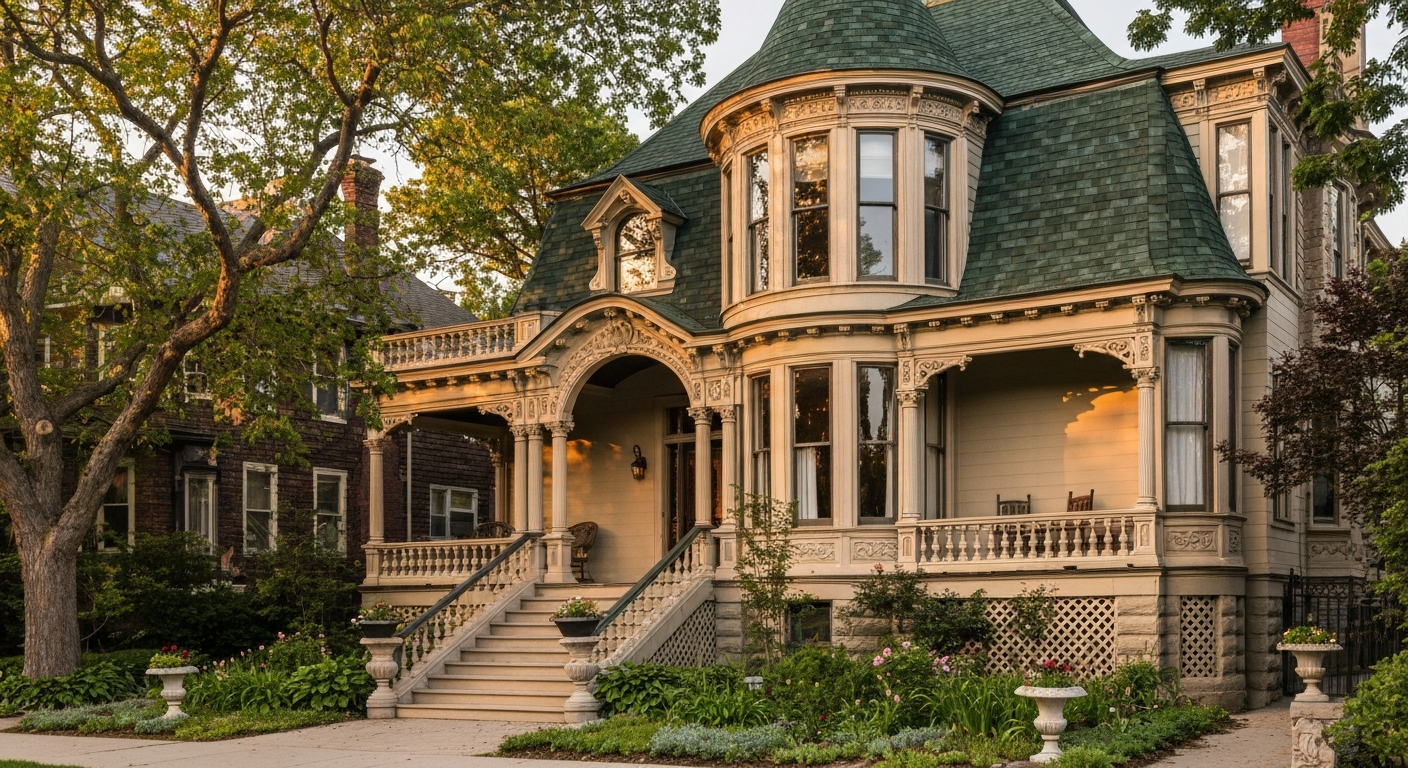
Example only — illustrative rendering, not a photo of a completed job.
The Home
A large 1905 Colonial Revival home near Lake of the Isles in Kenwood — one of Minneapolis's historic mansion neighborhoods. Original wood siding and trim, ornate window casings, and a wraparound porch with turned wood columns. Homes at this age and scale in Kenwood carry real historic-district considerations, and homeowners here are often weighing authenticity (period-appropriate color, trim detail) alongside straightforward protection from Minnesota winters.
How We Built the Estimate
- On-site walk-around, measuring surface area including the porch, trim, and architectural detail (which adds labor time relative to a flat-sided newer home).
- Wood condition assessment — checking for rot, checking (surface cracking from age/UV exposure), and failed glazing putty around the original window sashes.
- Historic-district note — if the home sits within a Minneapolis Heritage Preservation Commission district, exterior color and material changes may require a Certificate of Appropriateness before work begins; we flag this during the estimate rather than after.
- Lead-safe scope — built in 1905, this home requires EPA RRP-compliant practices before any prep work begins.
- Prep-level determination — given the ornate trim and age of the wood, this project was scoped at PCA Level 2–3, with Level 3's smoothness standard applied specifically to the porch trim and column details that are most visible up close.
- Written, itemized quote, broken out by prep, materials, and labor — with the trim/detail work called out separately since it's priced differently than flat siding.
Cost Breakdown (Example)
| Line Item | What's Included | Estimated Cost |
|---|---|---|
| Surface prep | Hand-scraping of failing paint, wood repair on porch trim, re-glazing window putty, lead-safe containment, pressure washing | $3,800 |
| Materials | Stain-blocking primer, historic/period-appropriate color-matched topcoat, premium exterior enamel for trim and columns | $2,200 |
| Labor (application) | Siding, detailed trim and column work, porch ceiling and railings | $4,500 |
| Total (example) | $10,500 | |
*Whole-house exterior projects in the Twin Cities metro typically run $5,500–$12,000 — this example sits toward the higher end, reflecting the added trim detail, wood repair, and prep time that come with a home of this age and architectural detail.
The Process
1. Inspection & Lead-Safe Check
Full exterior walk, documenting failing paint, wood condition, and glazing putty condition. Lead-safe containment set up before any scraping or sanding begins.
2. Surface Preparation
Hand-scraping (power tools can damage delicate original trim), wood repair where rot or checking has compromised the surface, re-glazing of window sashes, and full pressure wash.
3. Priming
Stain-blocking primer applied to bare wood and repaired sections to prevent tannin bleed-through, common on older wood trim.
4. Application
Siding, trim, and columns painted separately with appropriate technique for each — cutting in by hand around window casings and porch detail, back-rolling siding to work paint fully into the grain.
5. Cure & Final Walkthrough
Checked against the industry P1 definition of a properly painted surface, with particular attention to the trim and porch detail that gets viewed up close, not just from the street.
Timeline (Example)
- Day 1: Inspection, containment setup, hand-scraping begins
- Day 2–3: Wood repair, re-glazing, full prep completion
- Day 4: Priming
- Day 5–7: Topcoat application (siding, then detailed trim/columns)
- Day 8: Final walkthrough
*Longer timeline than a standard repaint, reflecting the hand-detail work — weather-dependent, within the late May–early September window.
Why It's Worth Doing
On an older, architecturally detailed home, a well-executed repaint does double duty: it protects wood that's now well over a century old from Minnesota's freeze-thaw cycling, and it preserves — rather than flattens — the trim and detail work that makes a home like this valuable in the first place. Exterior projects in this market typically recover an estimated 50–100% of cost in added value, with condition and detail level being major factors in where a specific home lands in that range.
Historic Exterior Painting: Common Questions
Service Area
Minneapolis, St. Louis Park, Edina, Richfield, Columbia Heights, Saint Anthony, Crystal, New Hope, Fridley, Brooklyn Center
Ready to Restore Your Home's Exterior?
Get a free estimate and find out what your historic home actually needs, from a crew that takes the details seriously.
By calling, you'll be connected with our licensed, insured local painting contractor.