
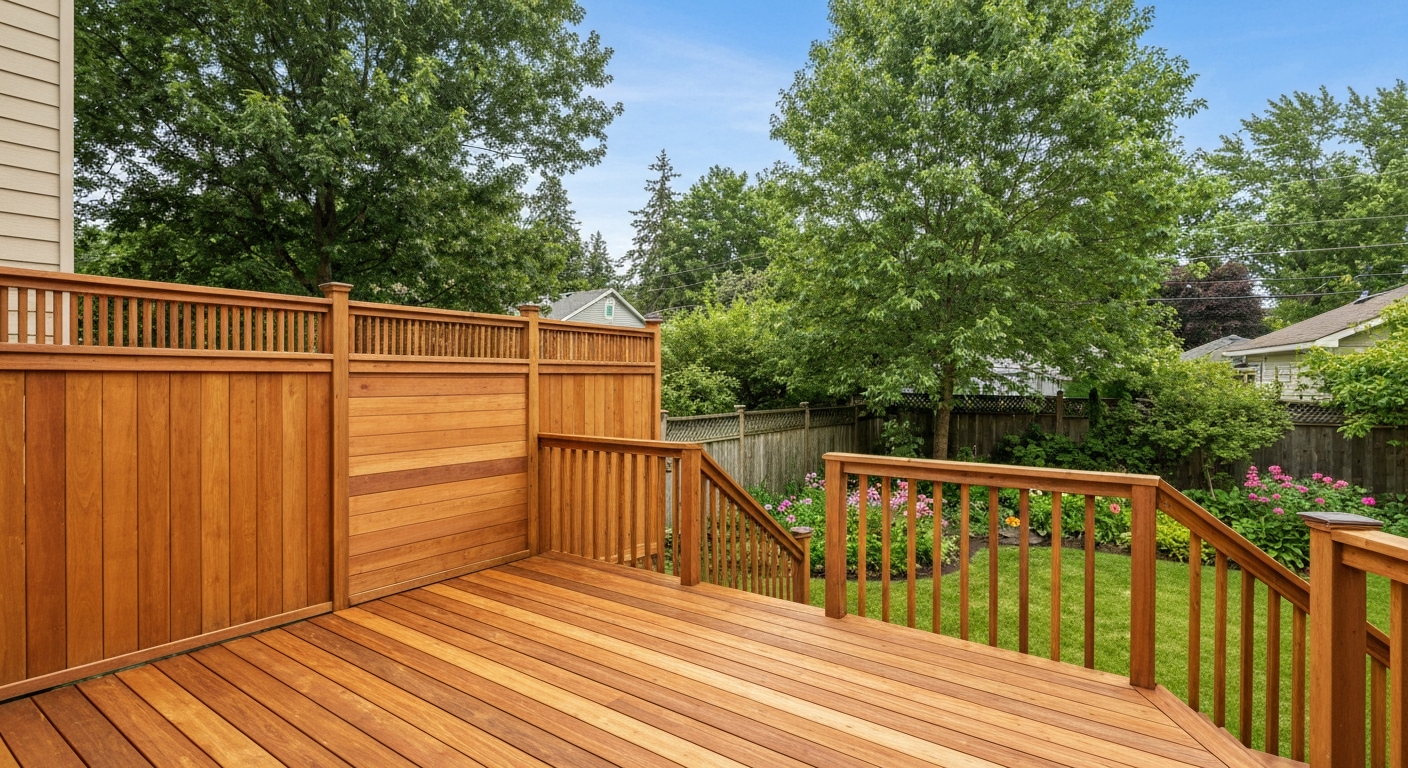
Deck and Fence Staining
Protect your wood from Minnesota weather and bring back the color underneath.
Call (612) 688-3059Deck and Fence Staining in Minneapolis
Minnesota weather is hard on outdoor wood. Sun, rain, and freeze-thaw winters dry out and crack unprotected decks and fences faster than most homeowners expect. Staining protects the wood and brings back the color and grain that gets lost to years of weather.
We stain decks, fences, and other outdoor wood surfaces for homeowners across Minneapolis, including Uptown, Linden Hills, and the neighborhoods around the Chain of Lakes.
Why Deck and Fence Staining Matters Here
Bare or unsealed wood soaks up moisture, and when that moisture freezes and thaws through a Minnesota winter, it causes cracking, warping, and rot. Staining seals the wood against that cycle and adds a layer of UV protection so the color doesn't fade as fast in the summer sun.
- Seals wood against moisture and freeze-thaw damage
- Protects against sun fading and graying
- Restores natural wood color and grain
Choosing the Right Stain
Not all stains do the same job, and the right choice depends on your wood, its condition, and how much of the natural grain you want to show.
- Transparent stain — shows the most wood grain, lightest protection, needs the most frequent reapplication
- Semi-transparent stain — shows some grain while adding more protection, a common middle-ground choice
- Solid stain — the most protective option, covers grain for a more uniform, paint-like look
We'll walk you through which option makes sense for your deck or fence during your estimate.
Our Staining Process
1Step 1 — Inspection and Prep
Why it matters: Staining over damaged wood just hides problems that get worse underneath. We check for loose boards, rot, or protruding nails before we start.
What to expect: A full inspection of the deck or fence, minor repairs identified and discussed with you, a clear picture of what your wood actually needs.
2Step 2 — Washing
Why it matters: Dirt, mildew, and old failing stain keep new stain from soaking in evenly. We wash the surface thoroughly and let it dry fully before staining.
What to expect: Pressure washing or hand washing depending on the wood's condition, removal of mold, mildew, and loose old stain, enough dry time before we apply anything new.
3Step 3 — Sanding and Repair
Why it matters: Rough or splintered wood won't take stain evenly, and small repairs now prevent bigger problems later.
What to expect: Sanding where needed for a smooth, even surface, minor board or repair work as needed, protruding nails or hardware addressed before staining.
4Step 4 — Stain Application
Why it matters: Even coverage and the right amount of product make the difference between a stain job that lasts and one that wears unevenly within a year.
What to expect: Stain applied by brush or sprayer depending on the surface, even coverage across all boards, rails, and posts, the stain type you chose applied according to manufacturer guidelines.
5Step 5 — Cleanup and Final Walkthrough
Why it matters: We want the job site left better than we found it, and we want you satisfied with the result before we call it done.
What to expect: Daily and final site cleanup, a walkthrough with you to check the finished work, a deck or fence ready to use once fully cured.
Example Project: Deck & Fence Staining Near Lake Nokomis
This is an illustrative example showing how a typical project like this comes together — from estimate to finished job. Costs, timelines, and photos are representative of real Twin Cities projects, not a specific completed job.
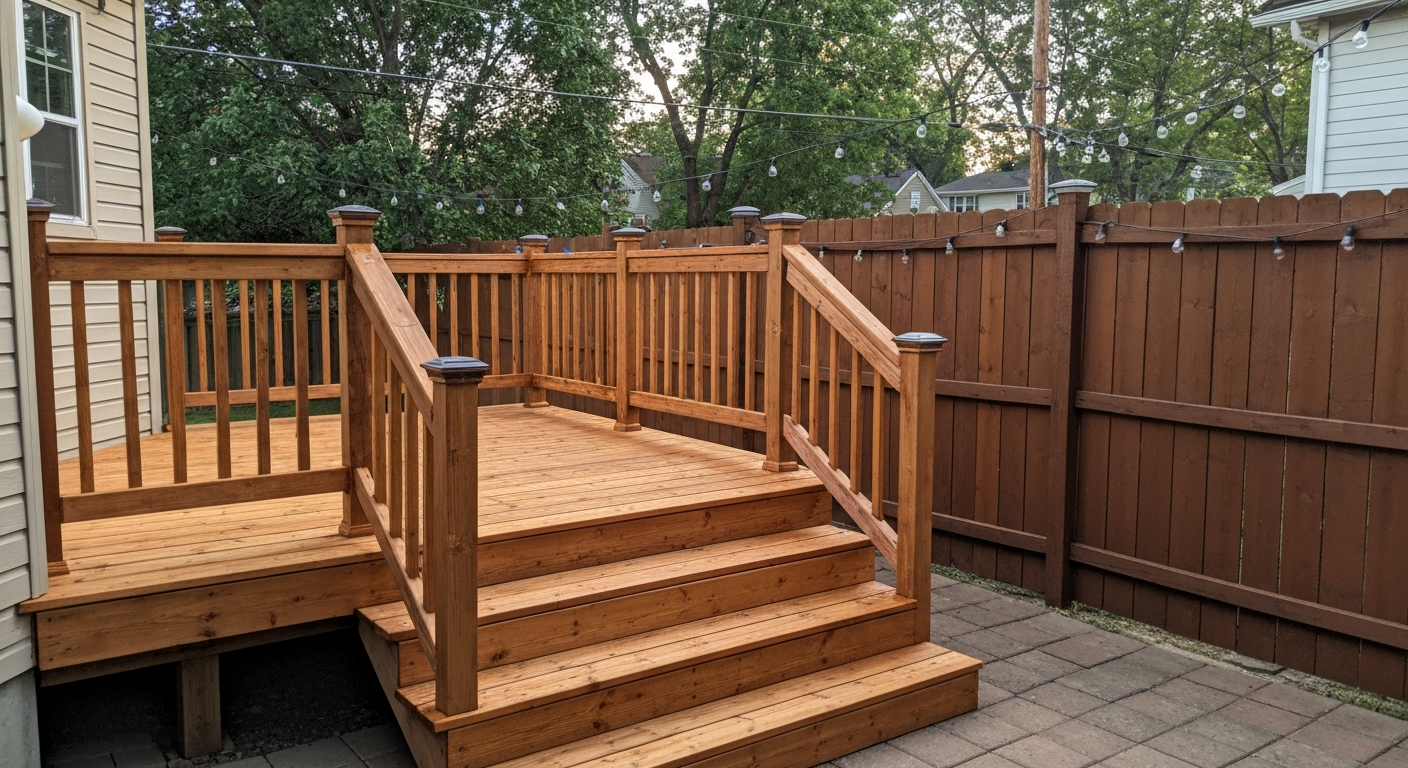
Example only — illustrative rendering, not a photo of a completed job.
The Home
A family home in Keewaydin, part of the Nokomis community near Lake Nokomis — a family-oriented pocket of Minneapolis where backyard decks and fences get real seasonal use. A 400 sq ft cedar deck (roughly 12'x24' with one railing section and a set of stairs) and a 150 linear foot wood privacy fence, both last stained about 4 years ago and starting to gray and lose water resistance.
How We Built the Estimate
- On-site walk-around of both the deck and fence, checking board condition, checking for graying/UV damage vs. actual wood deterioration, and testing water absorption (a quick water-bead test tells us whether the old finish has fully worn off).
- Prep scope. Deck boards were in good structural shape — no rot or replacement needed, just a wash-and-recoat scope rather than a full strip. The fence had a few sun-bleached sections on the west-facing side needing extra prep.
- Stain selection. Semi-transparent stain recommended for the deck (shows off the cedar grain while providing UV protection); solid stain recommended for the fence for more uniform coverage and longer intervals between recoats.
- Itemized quote, deck and fence priced and broken out separately, since fence work is priced per linear foot and deck work per square foot — combining them into one number would make it harder to see what's driving the total.
Cost Breakdown (Example)
| Item | What's Included | Estimated Cost |
|---|---|---|
| Deck: prep & wash | Pressure wash, spot-sand rough areas, mask adjacent siding | $300 |
| Deck: materials | Semi-transparent stain, brushes/applicators | $150 |
| Deck: labor | Application, railing and stair detail work | $950 |
| Deck subtotal | $1,400 | |
| Fence: prep & wash | Pressure wash, spot-sand weathered sections | $200 |
| Fence: materials | Solid stain, both-sides coverage | $150 |
| Fence: labor | Application, both sides, gate hardware masking | $550 |
| Fence subtotal | $900 | |
| Combined project total (example) | $2,300 | |
*Twin Cities deck staining typically runs $1,000–$1,800 for a project this size (a wash-and-recoat on sound wood lands toward the lower end; full stripping or board repair pushes it higher). Fence staining typically runs $3–$10 per linear foot depending on fence type and prep needs. Actual pricing depends on your deck/fence's specific condition.
The Process
1. Inspection & Assessment
Checked both structures for wood condition, prior finish wear, and any rot or replacement needs before quoting.
2. Surface Preparation
Pressure washing to remove graying, dirt, and mildew; light sanding on rough or splintering boards; masking of adjacent siding, landscaping, and hardware.
3. Stain Application
Deck: semi-transparent stain applied with the grain, back-brushed into the wood rather than just surface-coated, including stair treads and railing. Fence: solid stain applied to both sides for full protection, working in manageable sections to maintain even coverage.
4. Dry & Final Walkthrough
Deck and fence checked for even coverage, no lap marks or missed spots, before the area is cleared for foot traffic. We note the difference between dry-to-touch and fully cured — the deck shouldn't see heavy furniture or grill traffic for the first few days even once it looks and feels dry.
Timeline (Example)
- Day 1: Wash and prep (both deck and fence)
- Day 2: Stain application
- Day 3: Second coat if needed, final walkthrough
*Weather-dependent — staining needs dry conditions and moderate temperatures, so scheduling typically falls within the same May–September window as exterior painting.
Why It's Worth Doing
Deck and fence staining is maintenance, not a one-time project — re-staining every 2–4 years is what actually protects the wood investment underneath, especially through Minnesota's freeze-thaw cycles and heavy UV summer exposure. Letting a finish fully wear off before recoating usually means a bigger prep job (and bigger bill) down the line than staying ahead of it.
Deck and Fence Staining: Common Questions
Ready to Bring Your Deck or Fence Back to Life?
Get a free estimate and find out what your outdoor wood actually needs before another Minnesota winter.
By calling, you'll be connected with our licensed, insured local painting contractor.